客製化FancyBox標題列,在FancyBox中加入Button
接續上一篇,小蛙使用了FancyBox讓從多媒體中心取得的圖片可以透過燈箱效果呈現,接著有一個新的需求是,如果有使用者對於該張圖片有授權需求,可以透過Button點擊後帶出申請表,於是需要在FancyBox中加入Button。
官方範例畫面,有各式各樣的demo:
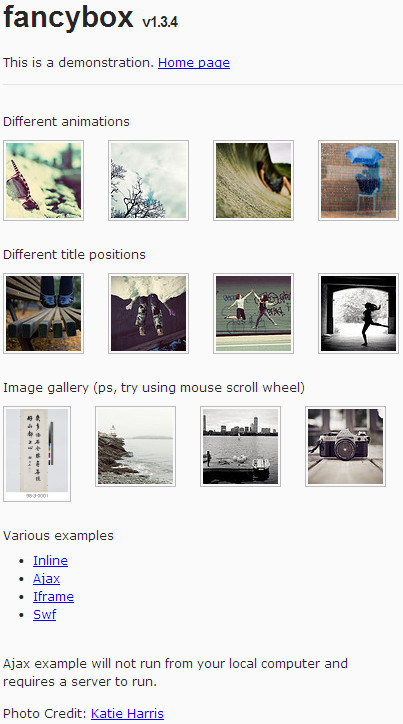
針對title的部分,FancyBox有提供幾款樣式供使用者選擇。這張圖是FancyBox title預設樣式。
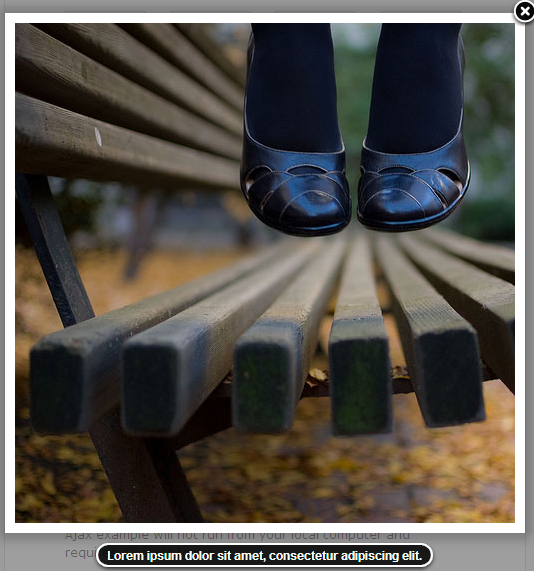
Photo Credit: Katie Harris
$("a#example5").fancybox();‘outside’樣式。
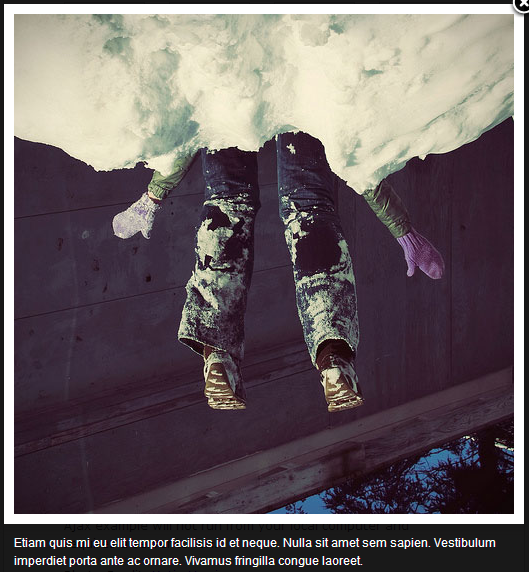
Photo Credit: Katie Harris
$("a#example6").fancybox({
    'titlePosition' : 'outside'
});
‘inside’樣式
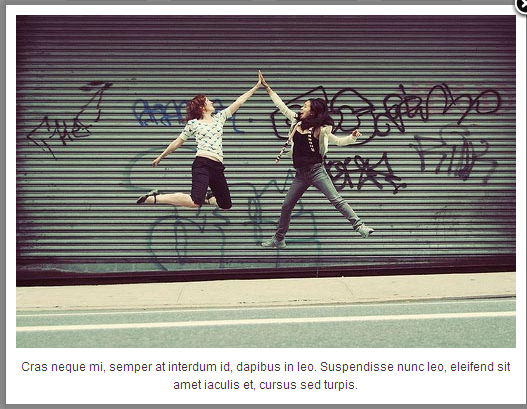
Photo Credit: Katie Harris
$("a#example7").fancybox({
    'titlePosition' : 'inside'
});
‘Over’樣式
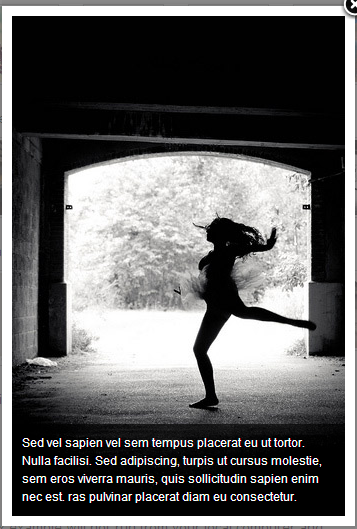
Photo Credit: Katie Harris
$("a#example8").fancybox({
    'titlePosition' : 'over'
});
小蛙採用最少量的修改來達到這個目的,畢竟動到FancyBox套件內部的話,到時候升級版本會非常麻煩。其實只要看一下FancyBox API就可以發現,FancyBox在標題列的部分是可以自行修改並且帶入html的。
$("a[rel=example_group]").fancybox({
'transitionIn' : 'none',
'transitionOut' : 'none',
'titlePosition' : 'inside',
'titleFormat' : function(title, currentArray, currentIndex, currentOpts) {
return '<span id="fancybox-title-over">Image ' + (currentIndex + 1) + ' / ' + currentArray.length + (title.length ? ' ' + title : '') + '</span>';
}
});titleFormat的部分後面接了個function(title, currentArray, currentIndex, currentOpts){},重點是處理完之後return的是'<span xxxx’,表示最後可以回傳html碼,簡單的說就是可以return希望呈現的元件。小蛙把return部分改成對方要求的「申請圖像授權」Button。
$("a[rel=example_group]").fancybox({
'transitionIn' : 'none',
'transitionOut' : 'none',
'titlePosition' : 'inside',
<span style="color: #ff0000;"><strong>'titleFormat' : function(title, currentArray, currentIndex, currentOpts) {</strong></span>
<span style="color: #ff0000;"><strong> return '<center><input type="button" name="title" value="申請圖像授權" onclick="xxx()"></center>';</strong></span>
<span style="color: #ff0000;"><strong> }</strong></span>
});可以增加html,當然也包括form元件,結果就變成這樣囉!
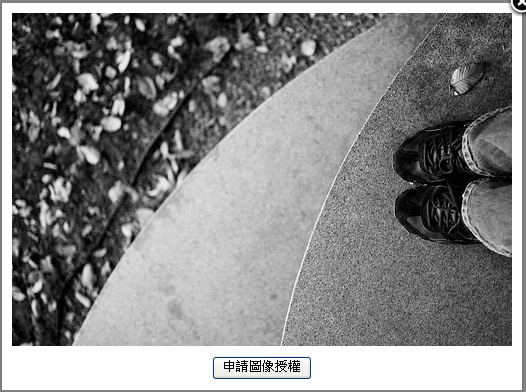
Photo Credit: Katie Harris